
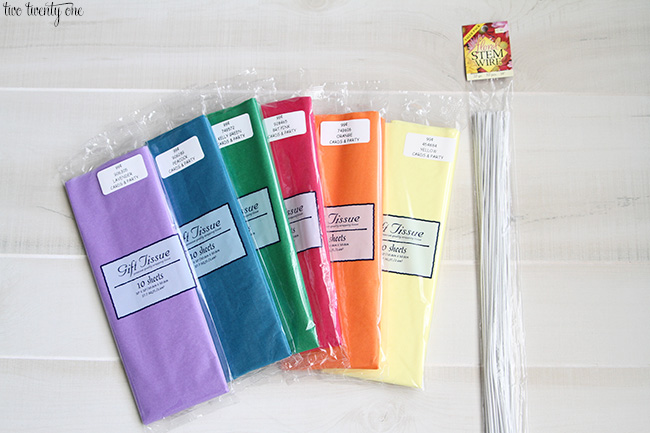
Supplies:
• tissue paper (I use 10 sheet, 20 inch by 20 inch)… Hobby Lobby
NOTE: Since publishing this tutorial, Hobby Lobby has changed the tissue paper to 8 sheets and $1.29 per package. NOT COOL, in my opinion.
• floral wire… Hobby Lobby
• scissors
• ruler
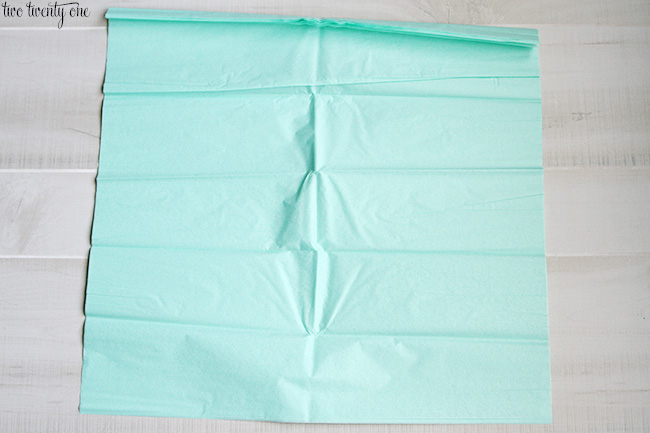
Flatten out the tissue paper. Divide the 10 tissue papers into half– so 5 and 5 in each stack. Set one stack to the side.
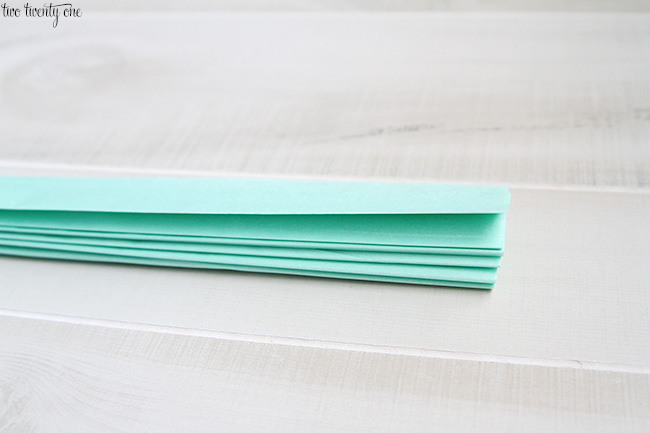
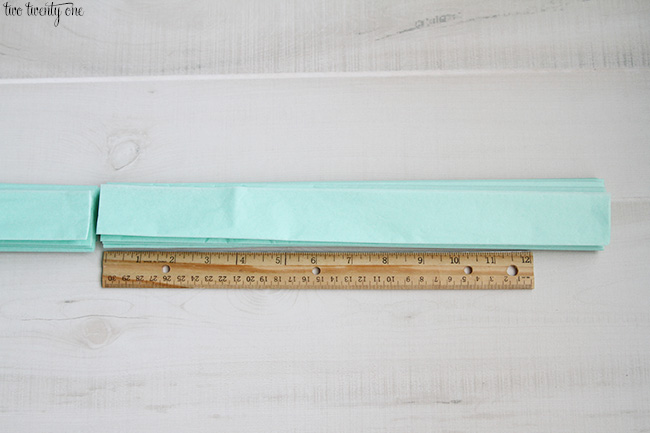
Fold the tissue accordion style.
Once folded, cut the strip into two pieces. One should be 6 inches.
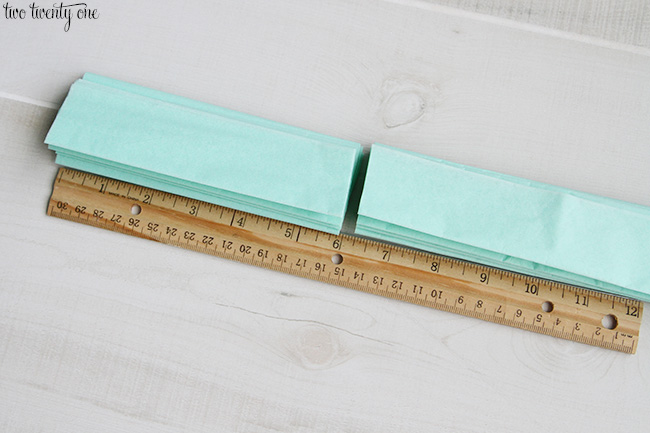
And the other should be 14 inches.
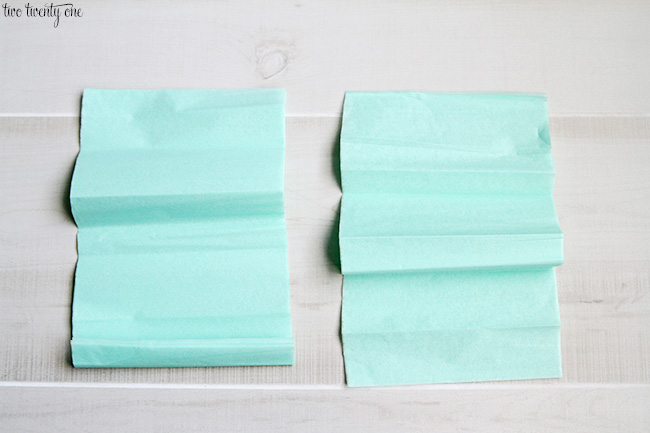
Take the 6 inch piece. Fold it in half hamburger style (if you don’t know what I mean, Google “fold paper hamburger style”).

Cut it along the fold, so you will have two sections with 5 sheets of paper in each section. Since these will be the smallest pom-poms, I refold them, accordion style, only smaller than the original fold (see photo after the photo below).
Grab the other remaining section that you put to the side in the beginning. Fold it accordion style. Cut it in half so you have two 10 inch pieces.
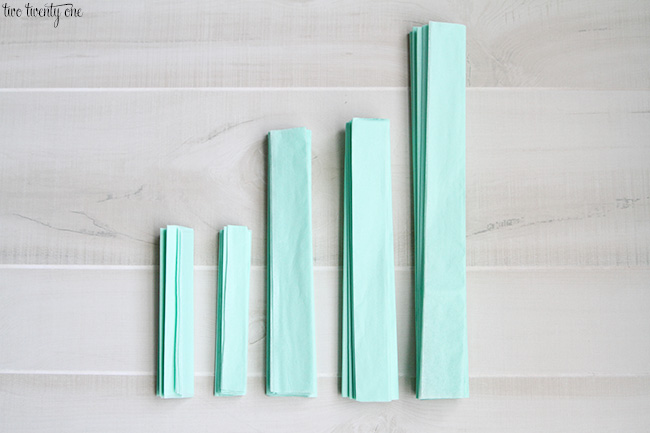
In the end, you should have the following from one package of 20 inch by 20 inch, 10 sheet tissue paper.
1- 14 inch
2- 10 inch
2- 6 inch
The next steps are to be repeated for each section of tissue paper.
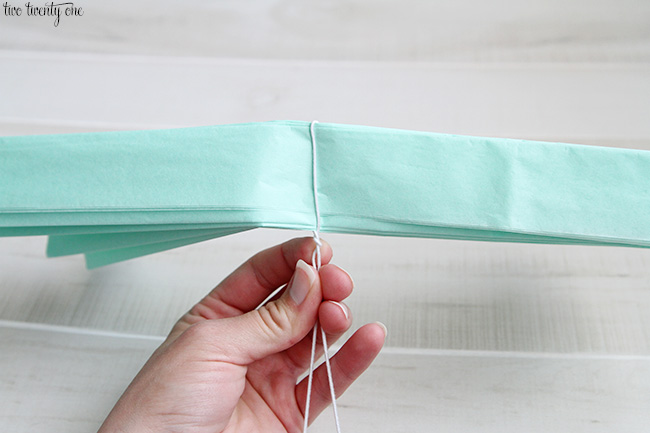
Grab your floral wire, center it in the middle of the tissue paper (use the ruler if you aren’t good at eye balling– no shame).
FYI, you don’t have to use floral wire. I actually used 22 gauge jewelry wire for the pom-poms I made for our gender reveal party because I was out of floral wire and didn’t feel like running to the craft store for more. Just make sure your wire isn’t too flimsy.
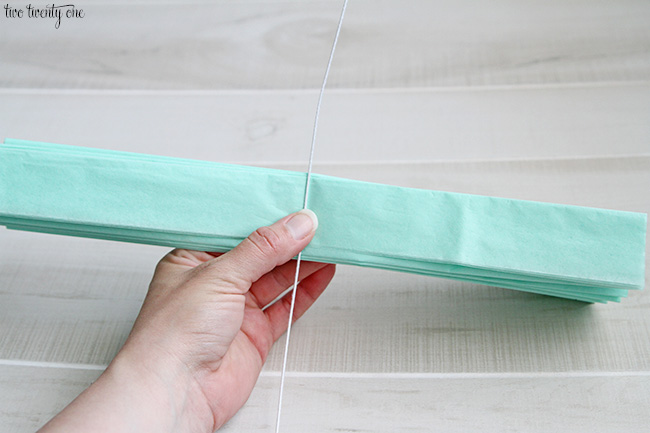
Twist the wire tight.
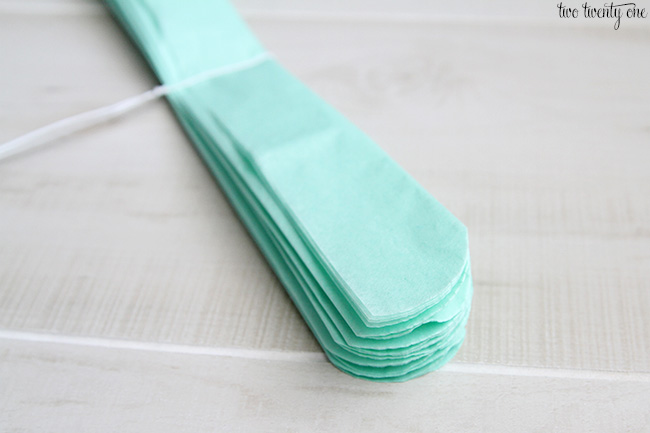
Grab your scissors and round out the corners of the tissue paper.
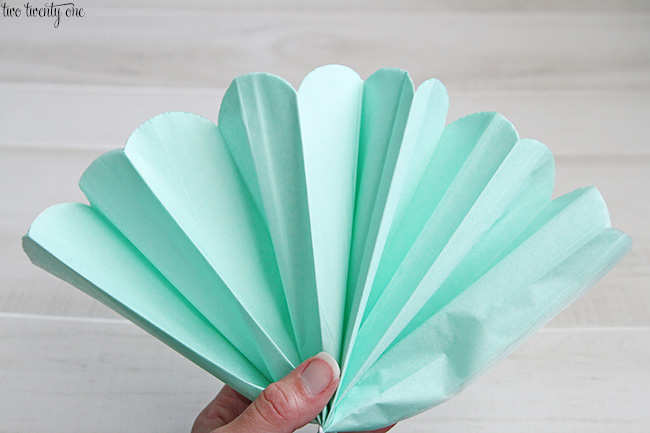
The end result should look like this when fanned out.
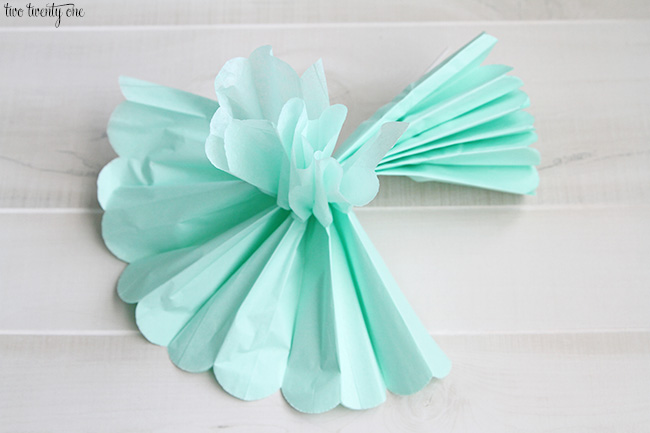
Start GENTLY, I repeat, GENTLY pulling the top layer of tissue paper up and toward the center. Remember, this is thin tissue paper, not metal. It will rip if you’re too forceful with it. It helps to start pulling at the bottom of the tissue paper layer, not the tip.
Post from : https://www.twotwentyone.net/how-to-make-tissue-paper-pom-poms/